Messages
Message Editor
YuChat uses a WYSIWYG editor—what you see while typing is exactly how your message will appear.
Switching Editor Modes
Choose your preferred mode:
- Default mode: Set in Settings → Interface → Editor
- Quick switch: Toggle between WYSIWYG and Markdown using
 in the editor
Benefits:
- Visual editing without special syntax knowledge
- Real-time preview
- Support for text, lists, quotes, tables, and images
Message editor toolbar

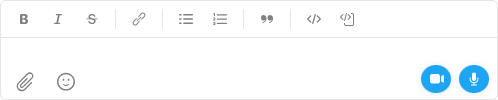
Formatting
| Action | Style | Syntax | Windows/Linux | Mac |
|---|---|---|---|---|
| bold | **bold** | Ctrl+B | ⌘+B | |
| italic | *italic* | Ctrl+I | ⌘+I | |
| ~~strikethrough~~ | Ctrl+Shift+X | ⌘+Shift+X | ||
| link | [text](url) | Ctrl+Shift+L | ⌘+Shift+L | |
| bulleted list | - item 1 - item 2 | Ctrl+Shift+P | ⌘+Shift+P | |
| numbered list | 1. first 2. second | Ctrl+Shift+O | ⌘+Shift+O | |
| block quote | > quote | Ctrl+Shift+I | ⌘+Shift+I | |
| — | horizontal line/divider | ---, *** | ||
| inline block | > quote | Ctrl+Shift+I | ⌘+Shift+I | |
| code block | `code block` | Ctrl+Shift+C | ⌘+Shift+C |
Horizontal Rule (Divider)
To visually separate sections in your message, insert a horizontal line:
-
Type three dashes
---or***at the start of a new line -
Go to a new line - Enter or CTRL / ⌘ + Enter depending on the current line break setting
or
-
Use the "Horizontal Line" option in the editor toolbar
Horizontal rules help structure long messages, separate topics, or highlight important information.
Nested Lists
The editor supports two-level nested lists — both bulleted and numbered.
To create a nested list:
- Create a list item
- Press Tab to increase nesting level
- Press Shift + Tab to decrease nesting level
Two nesting levels are supported
Context Menu
Web: Uses browser context menu
Desktop: Right-click for Undo, Redo, Cut, Copy, Paste, Select All
Spell check highlights typos and offers corrections while editing.
Spell Check
Spell check uses your operating system's dictionaries.
- macOS
- Windows
- Open System Settings
- Go to Keyboard → Text
- Set Spelling to Automatic by Language or your preferred language
- In Input Sources, ensure your language is added
Note: Spell check may not work correctly for non-English languages if Windows uses an English interface.
- Open Settings → Time & Language → Language & Region
- Add your language to Preferred Languages
- In Related Settings → Input, enable Highlight misspelled words
Language dictionaries must be installed for spell check to work.
Syntax Highlighting
Code blocks support syntax highlighting and language detection when you copy and paste code.
Automatic detection: Pasted code is automatically formatted as a code block with detected language highlighting.
Manual selection: Click the language name in the code block's corner to change it, or select "plain text" for no highlighting.
Copy and paste: When you copy and paste a code block again, YuChat keeps the code formatting and selected language when the paste source supports it.
Settings: Enable/disable in Settings → Interface. Highlighting adapts to your color theme.
Checklists
Create task lists with checkboxes (display-only after sending):
Syntax:
- [ ] Task 1
- [x] Task 2 (completed)
- [ ] Task 3
To update checkboxes, right-click → Edit → make changes → Send.
Emojis
Add emojis inline:
-
Type : followed by emoji name
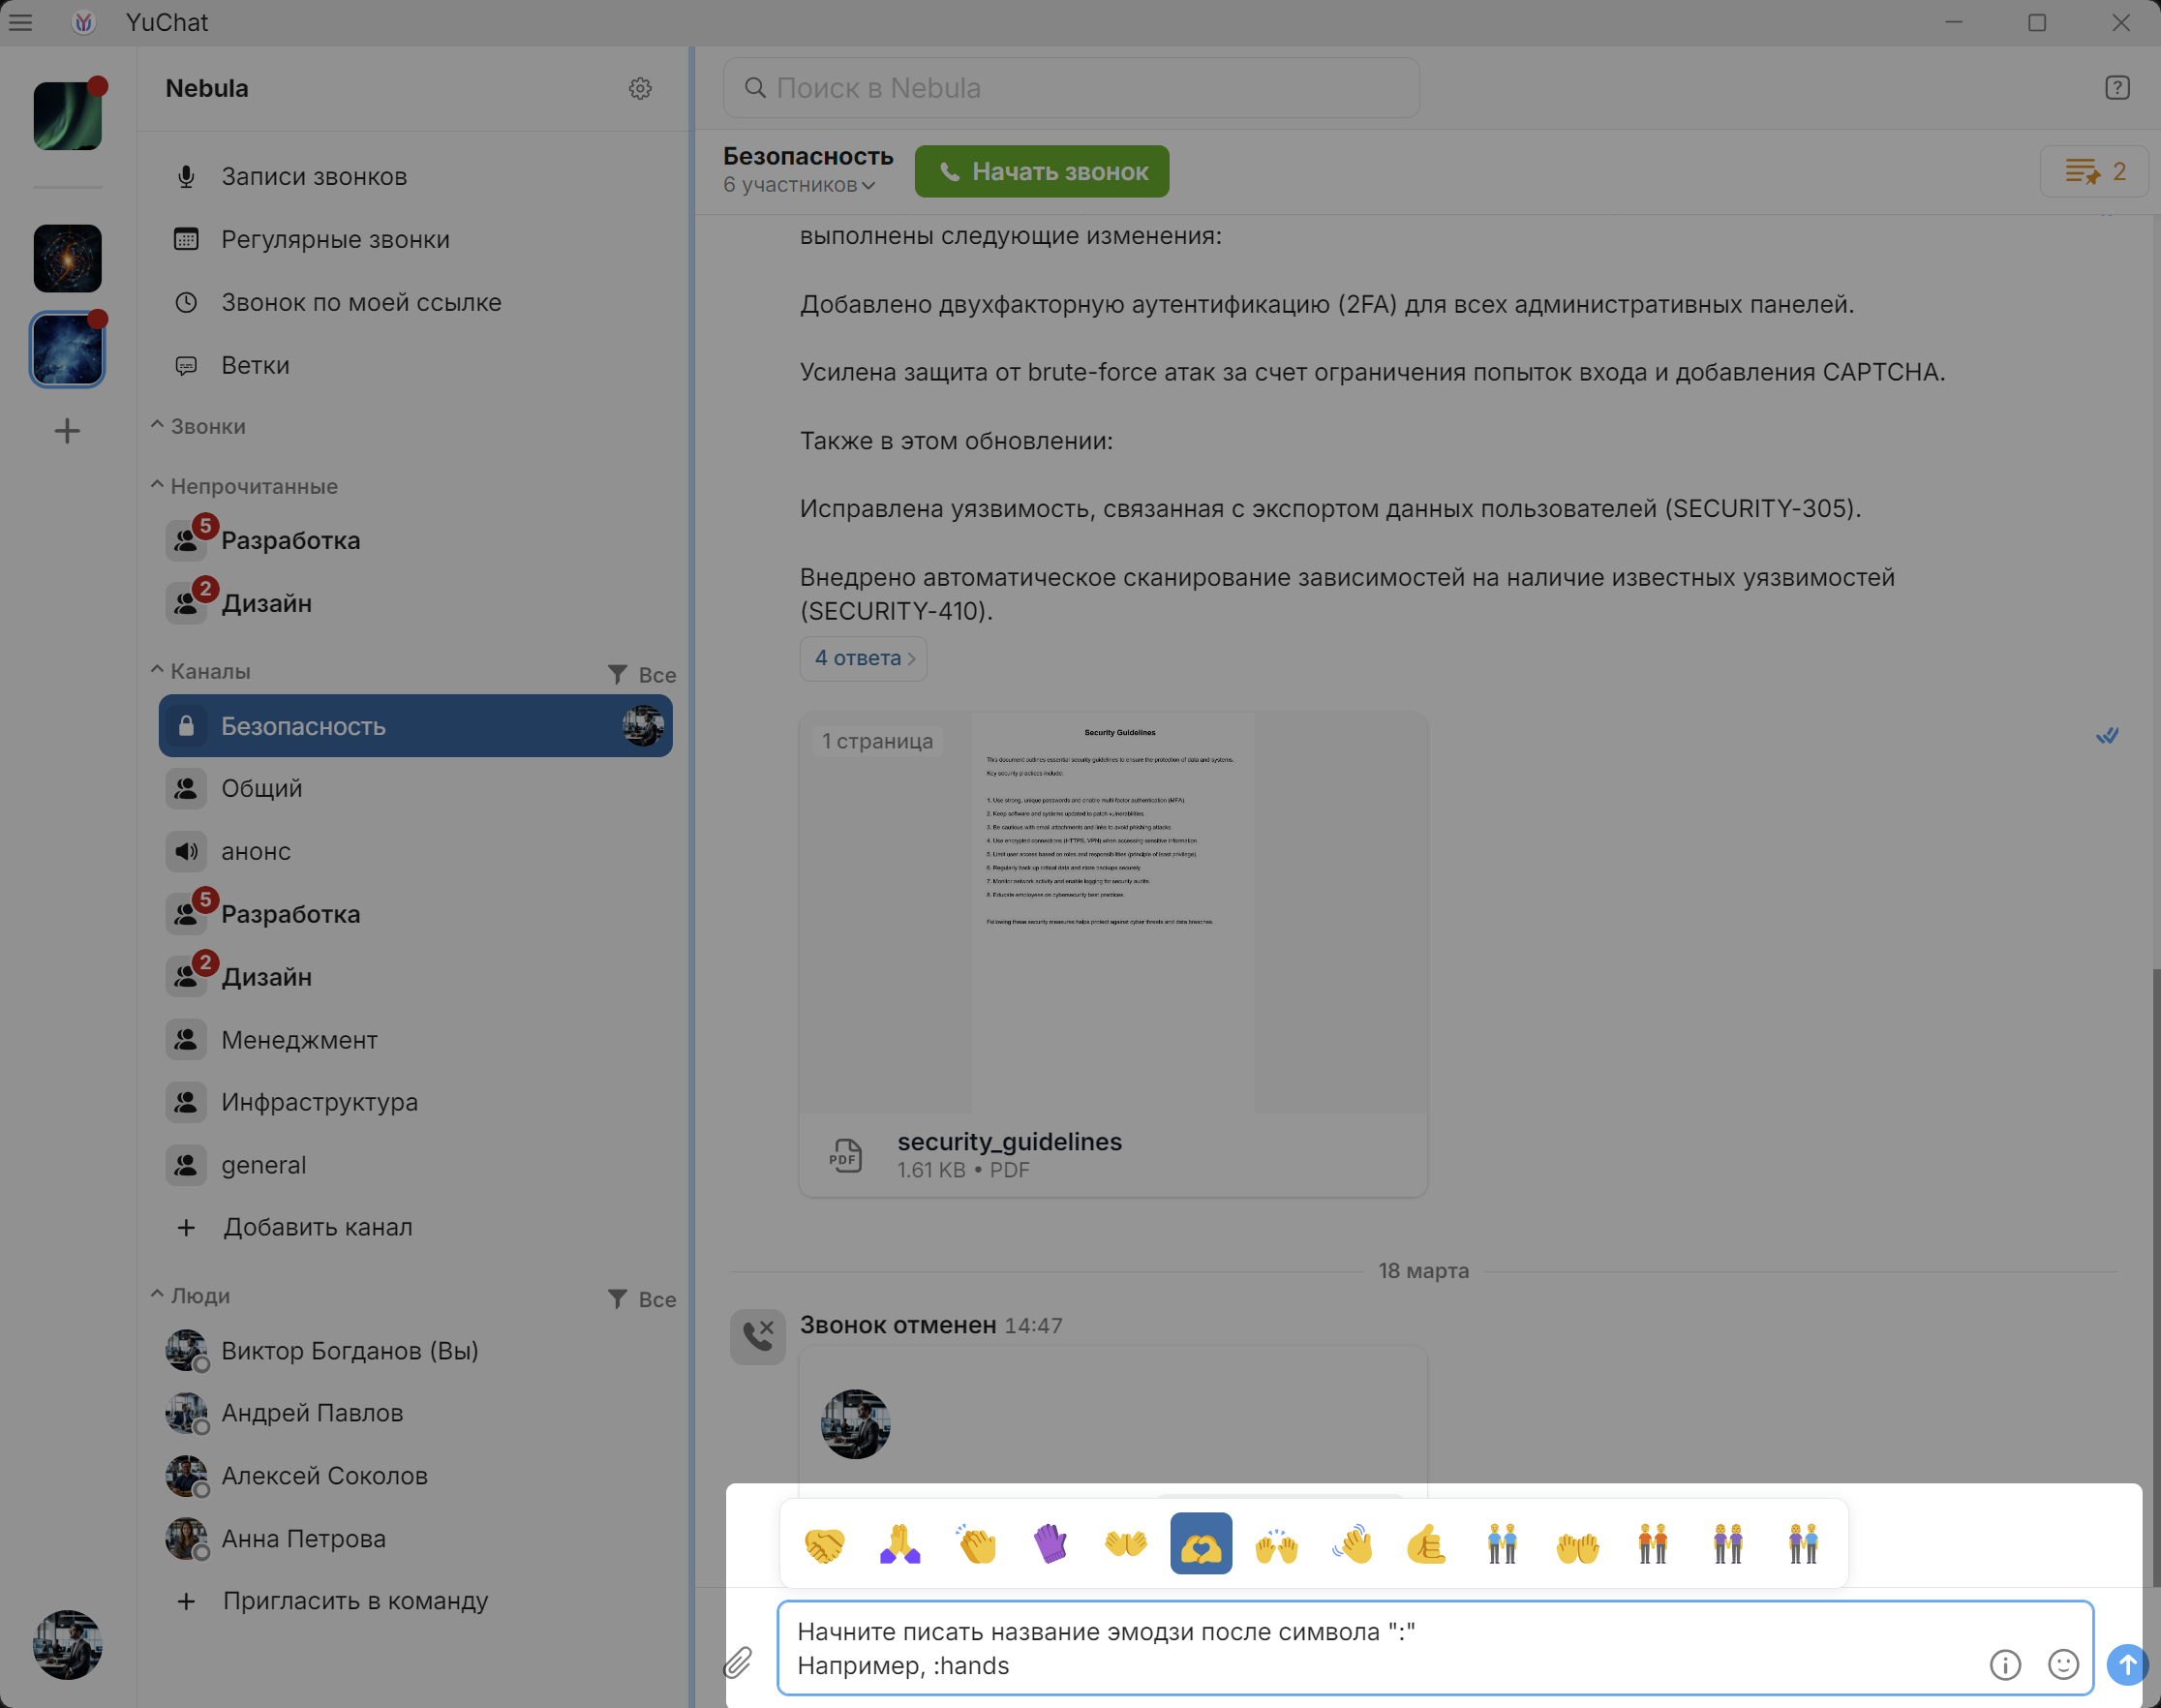
-
Navigate with ← →, select with Enter
:laugh → 😂, :heart → ❤️Hashtags
Add hashtags to messages for easy searching:
Message text
#project-alpha
After sending, #project-alpha becomes a clickable link to search all messages with that hashtag.
Named Links
Create readable links:
Check out [YuChat](https://www.yuchat.ai)
Result: 
Tables
Paste tables directly from Google Sheets, Google Docs, Microsoft Word, etc. Structure is preserved.
Code Snippets
From IDEs (VS Code, IntelliJ): Paste directly—automatic code block formatting.
From other sources: Paste, select text, then use the formatting toolbar for:
Ctrl/⌘ + Shift + V pastes as plain text.
Attachments
- Open a chat or channel
- Click
 or drag a file into the message field
 - Click

Create a Poll
The poll creation option is located directly in the message editor, inside the attachment menu.
To create a poll:
- Open a chat, personal messages, or a channel
- In the message field, click
- In the attachment menu, select Create poll
The poll creation form includes:
- a Question field
- multiple answer options
- a Multiple choice option
- an Anonymous voting option
- an Add answer button for extra options
After filling in the form, click Send.
After the poll is published:
- participants can vote directly in the message
- poll results are shown after voting
- in an open poll, the View results link becomes available
- you can Retract vote from the context menu
- like a regular message, the poll also supports context menu actions such as Forward, Pin, and other standard actions
The paperclip menu is used for files too: the same menu contains both Create poll and Attach file.
Markdown File Preview
When sending or receiving .md files, the app renders their content with full Markdown formatting — headings, lists, links, code blocks and other elements are displayed in their formatted form.
Documents can be previewed in most office formats.
Images open in a built-in viewer. Right-click to copy or get the link.
Text File Preview
YuChat can open text files directly in a chat, without downloading them or launching external apps. For supported formats, the file opens in the built-in viewer, and code or structured files are shown with syntax highlighting.
Supported formats include TXT, Markdown, JSON, XML, YAML, CSV, SQL, Java, JavaScript, Shell, INI, Diff/Patch, ICS, LOG, and other text files.
Scheduled Messages
Send messages at a specified time—useful for reminders or advance preparation.
Scheduling a Message
- Write your message
- Hover over Send

-
Select 'Send Later'
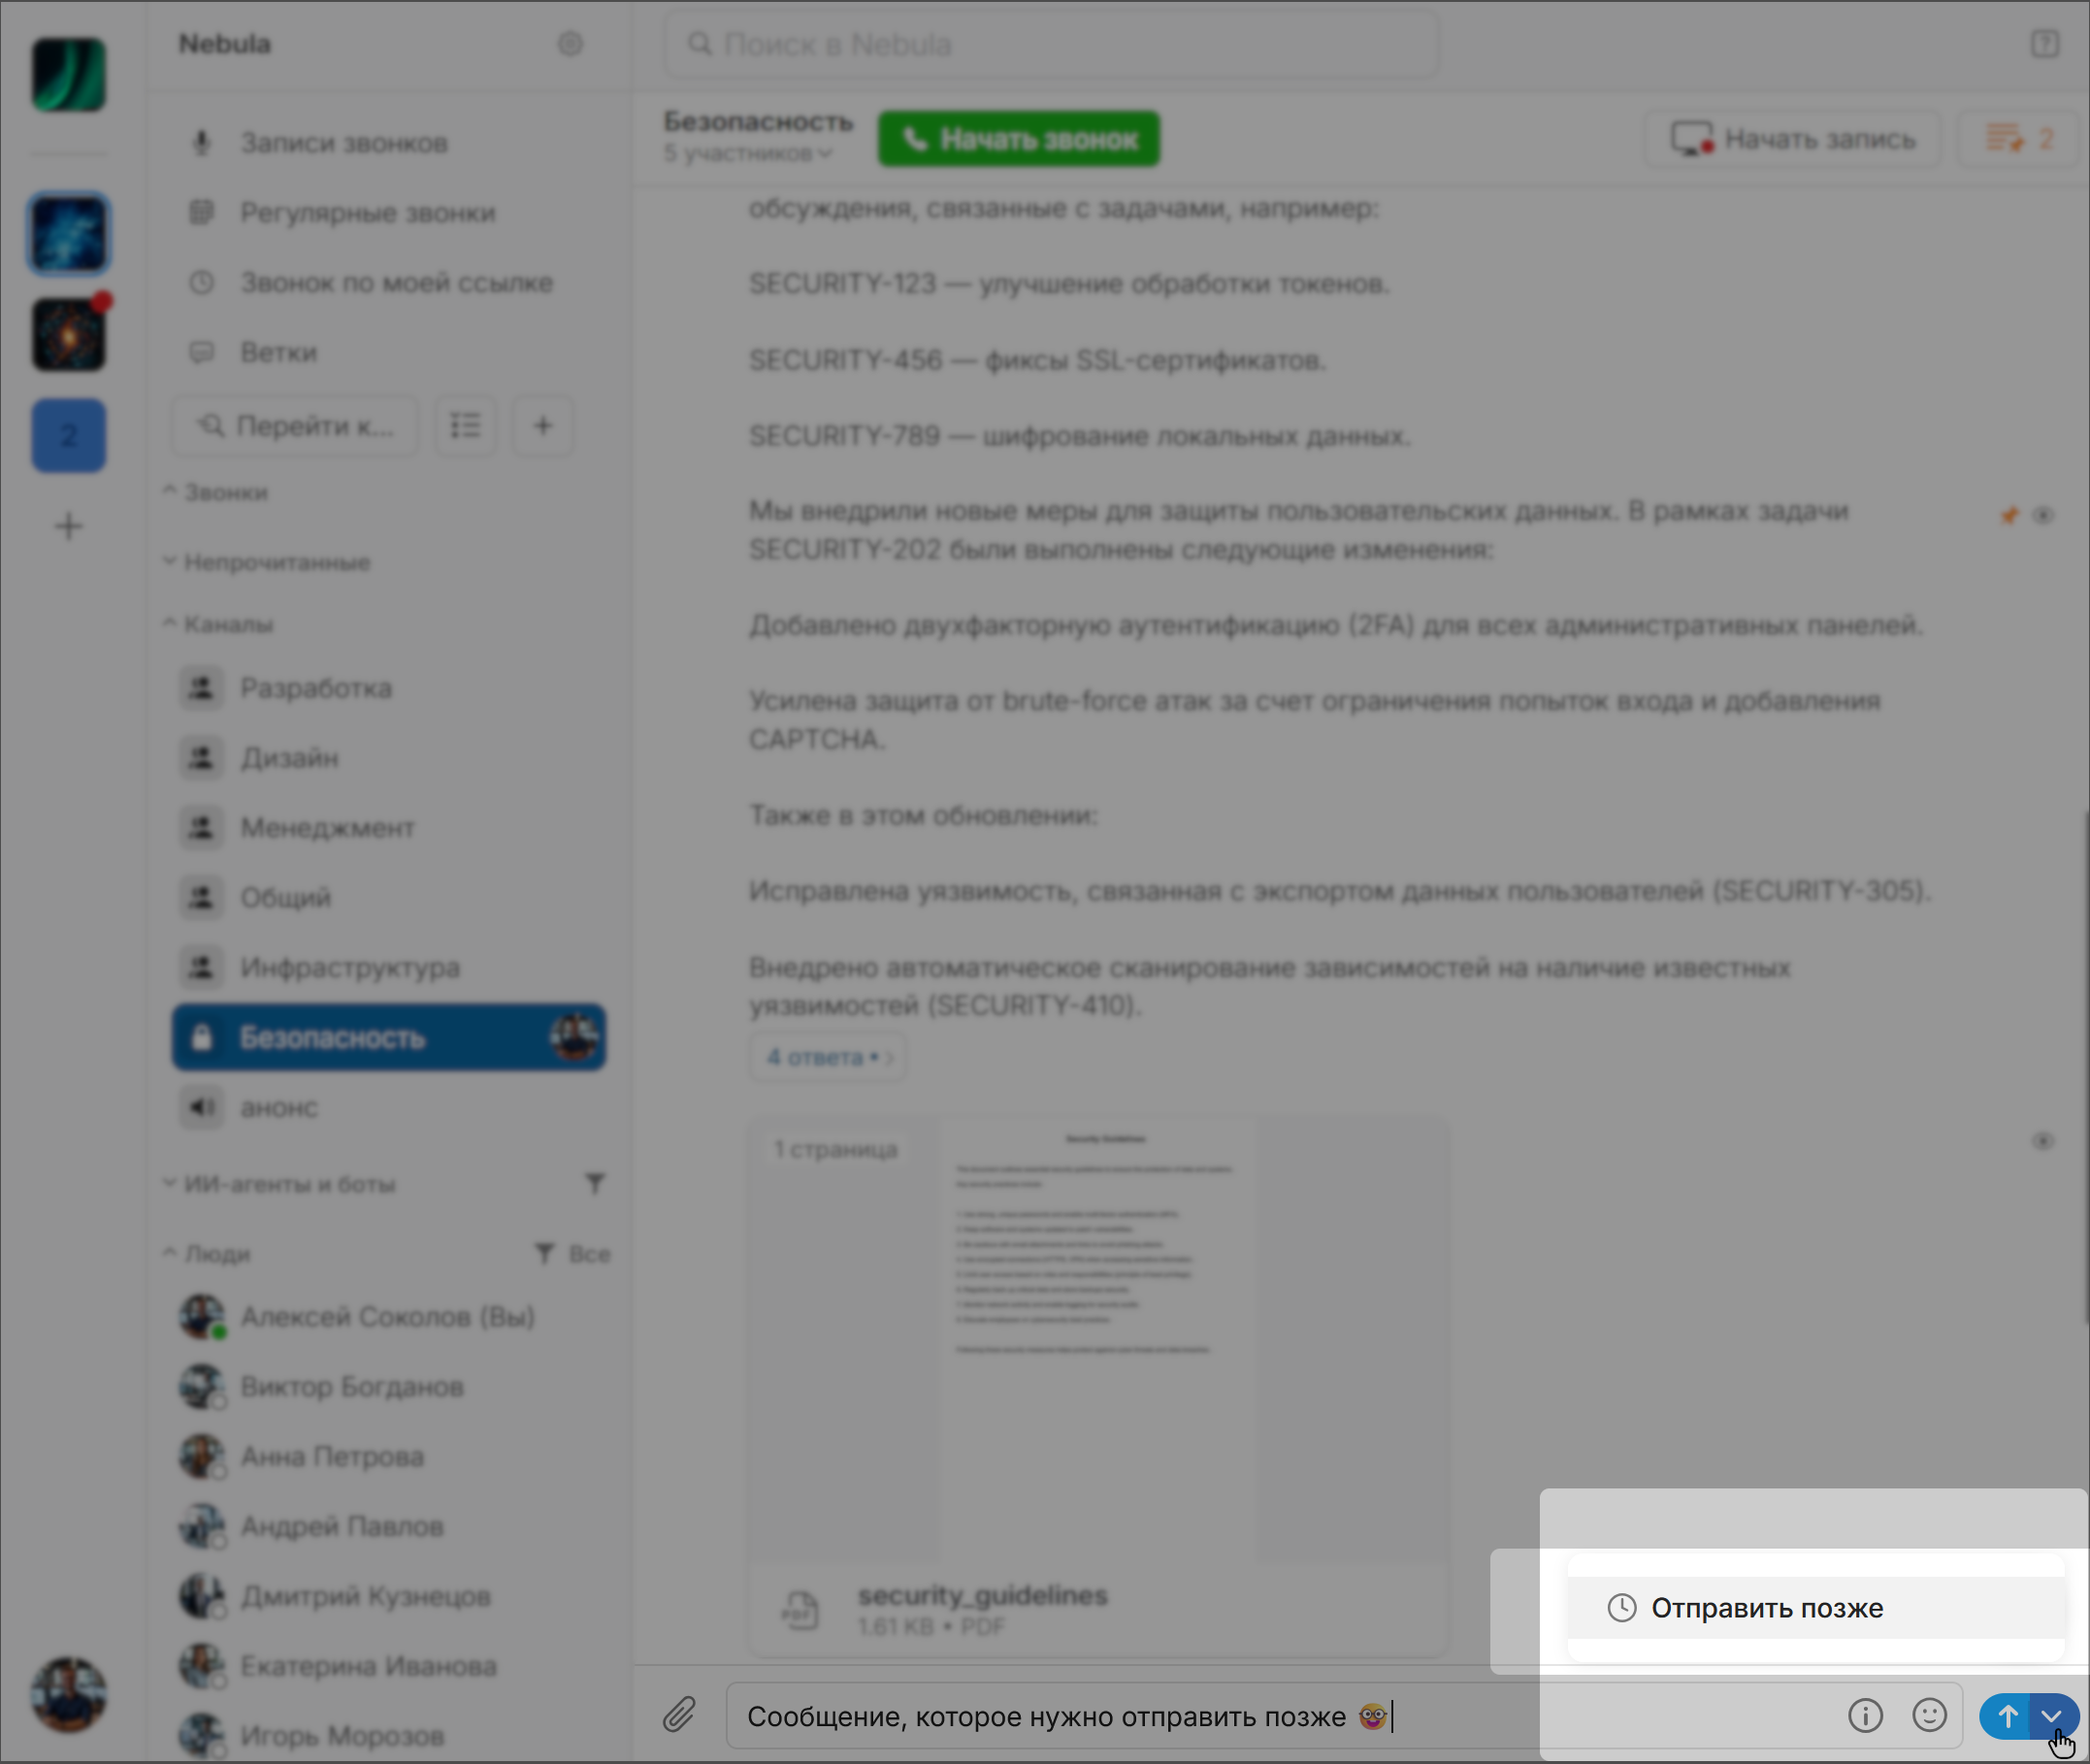
- Set date and time, click Schedule
Managing Scheduled Messages
Access via
Scheduled Messages
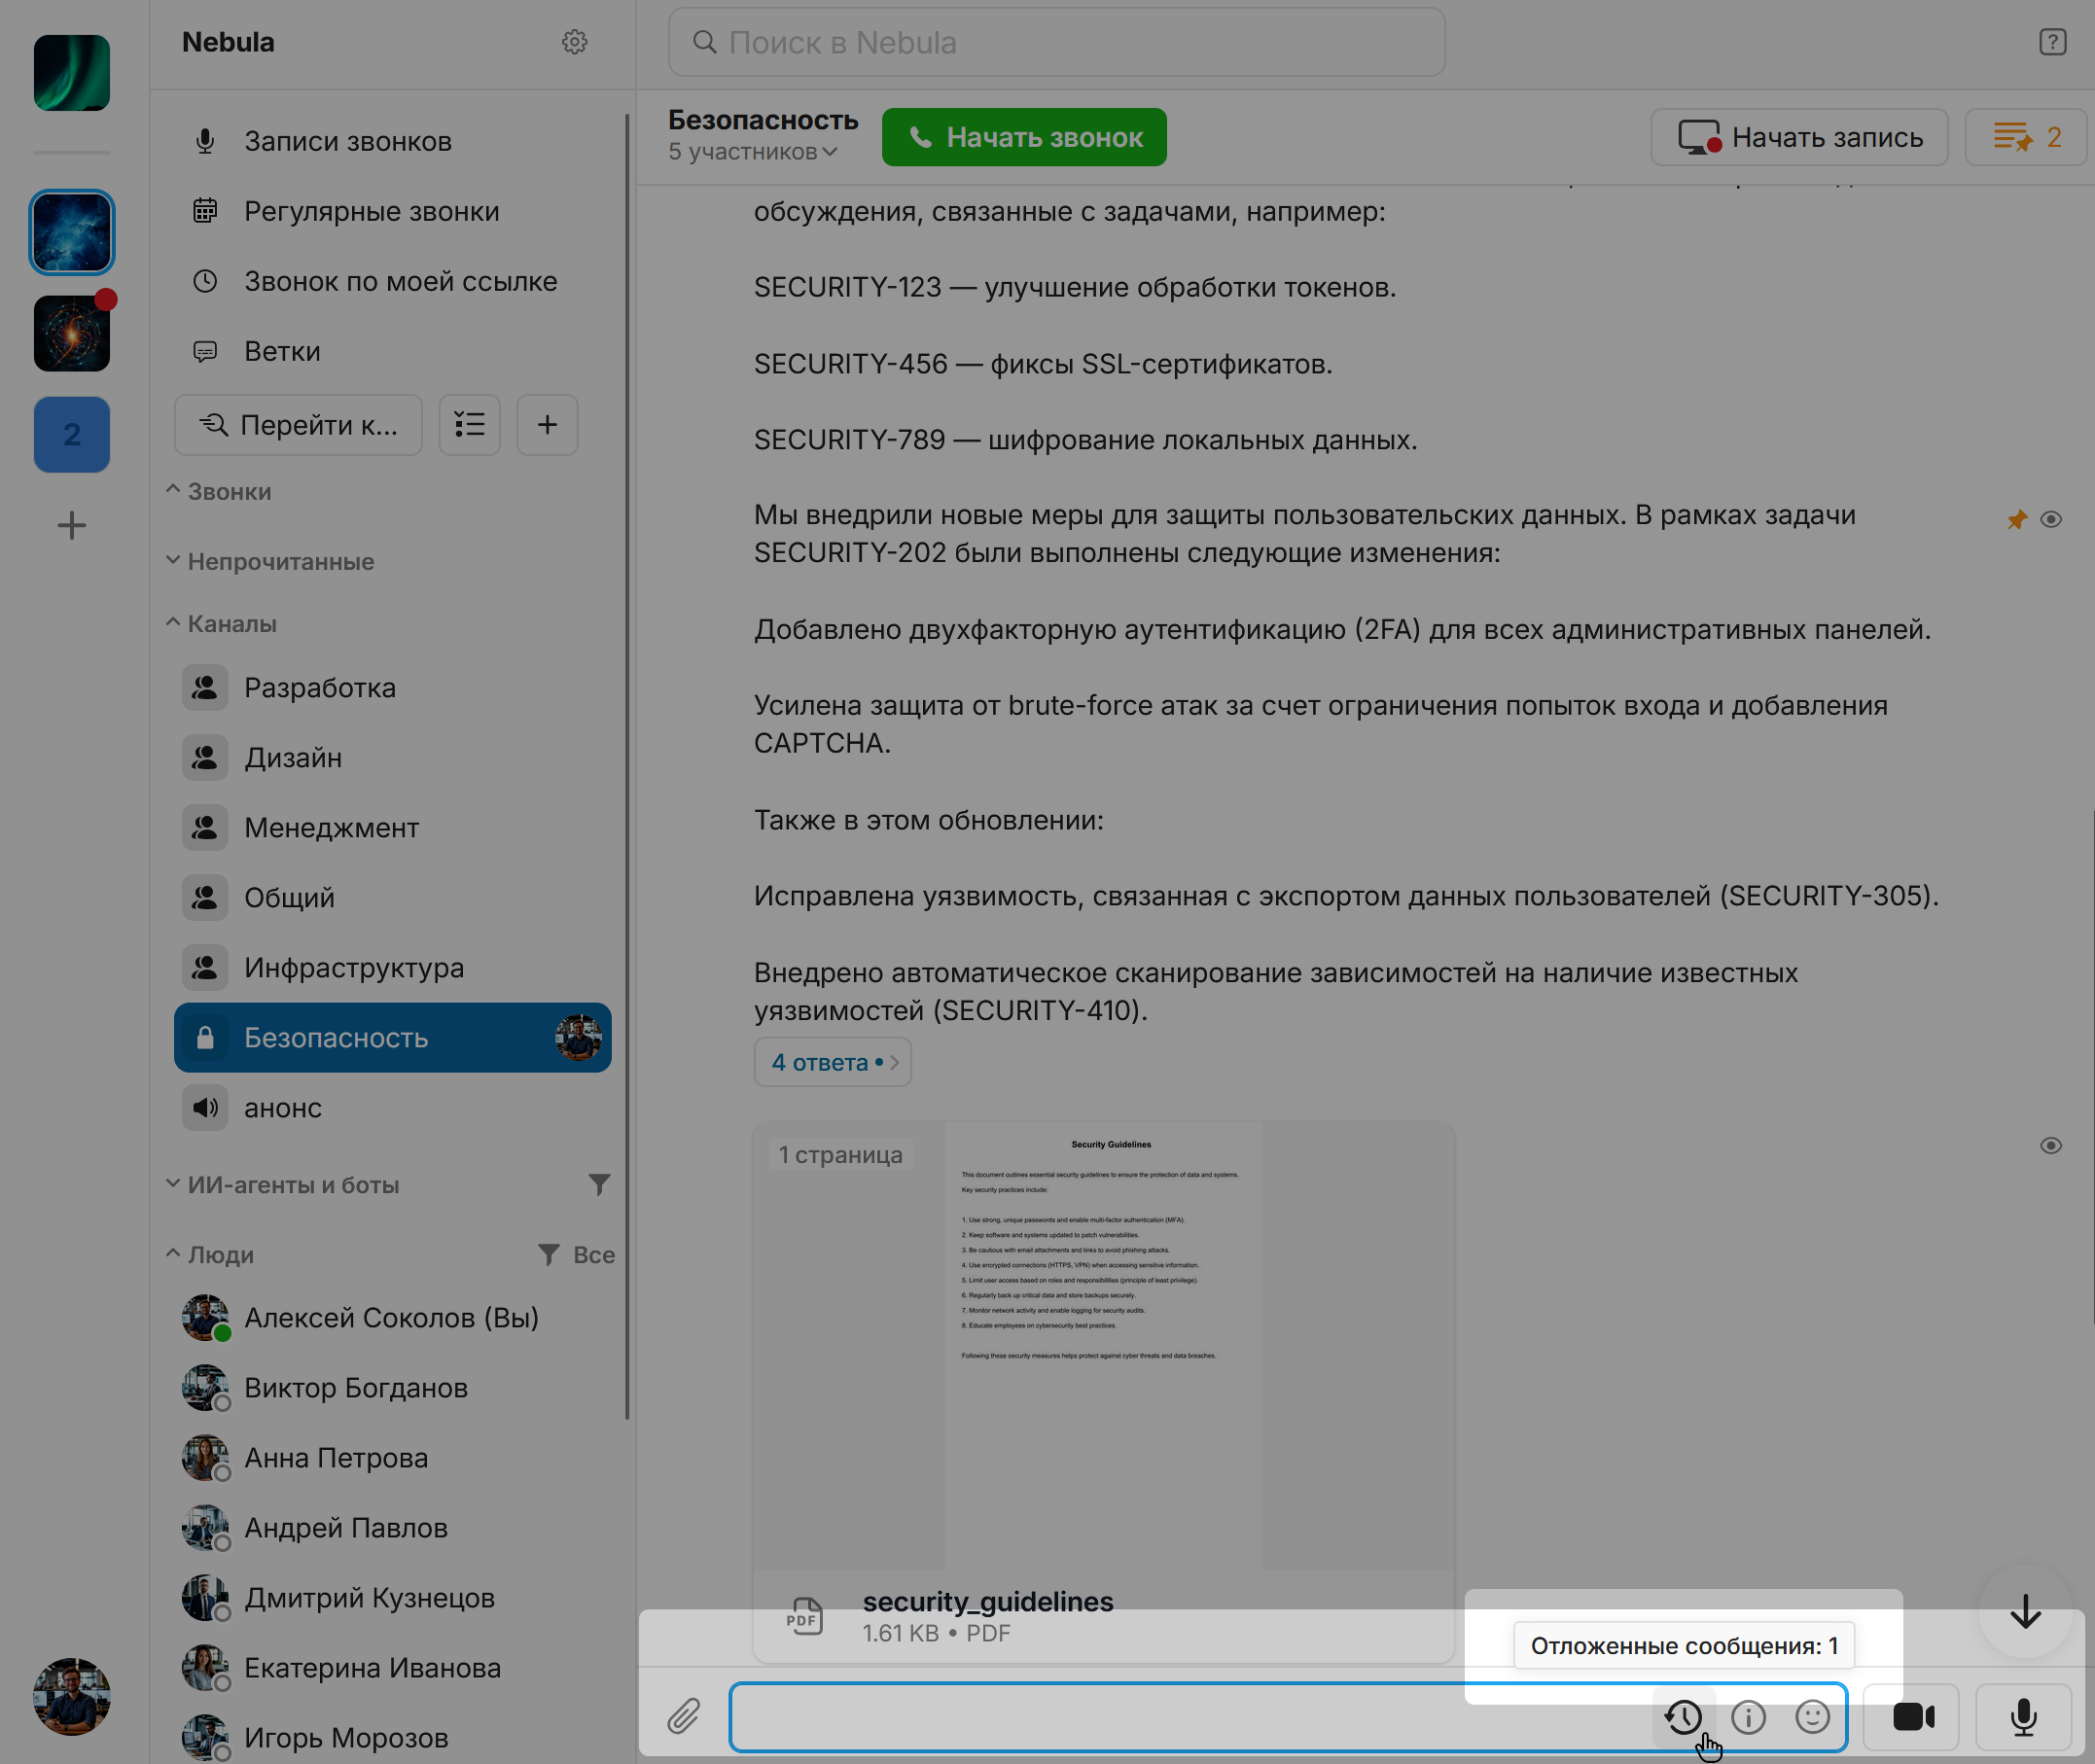
Click ![]() in the message field. Right-click any scheduled message for:
in the message field. Right-click any scheduled message for:
- Send Now
- Change Time
- Edit
- Copy Text
- Delete
Forwarding Messages
- Right-click a message
- Select
 Forward
 - Choose destination chat/channel (can be another workspace)
- Optionally add a comment
Enable Show context menu on hover in Settings → Interface for quicker access.
Forwarding Multiple Messages
- Right-click a message →
 Select
 - Check additional messages
- Click Forward
- Cancel with Cancel or Esc
Copy Multiple Messages
- Right-click a message
- Select Select
- Check the messages you want to copy
- Click Copy in the top bar
- Paste the copied text into another chat, document, or note
This is useful when you need to collect several messages from the same conversation without forwarding them.
Message Links
- Right-click a message
- Click
 Share
Share - Copy and share the public link
Anyone with the link can view the message.
Editing Messages
- Right-click → Edit (or press ↑ for your last message)
- Make changes
- Click
Automatic Collapse for Long Messages
Long messages collapse automatically so they do not take too much space in the chat history. YuChat shows the beginning of the message and a Show more button instead of the full text.
Click Show more to read the full message inline. After expanding it, you can collapse it again with Show less.
This keeps conversations easier to scan, especially when chats contain long updates, instructions, logs, or document fragments.
Highlight Your Own Messages
This feature visually highlights your messages in a chat, channel, or thread.
To enable highlighting:
- Open App Settings
- Go to Interface
- Enable Highlight your own messages
This setting only affects how messages are displayed on the current device.
Reactions
Add reactions to messages in channels, chats, or threads:
Right-click a message, select an emoji from recent reactions or click ![]() to browse all.
to browse all.
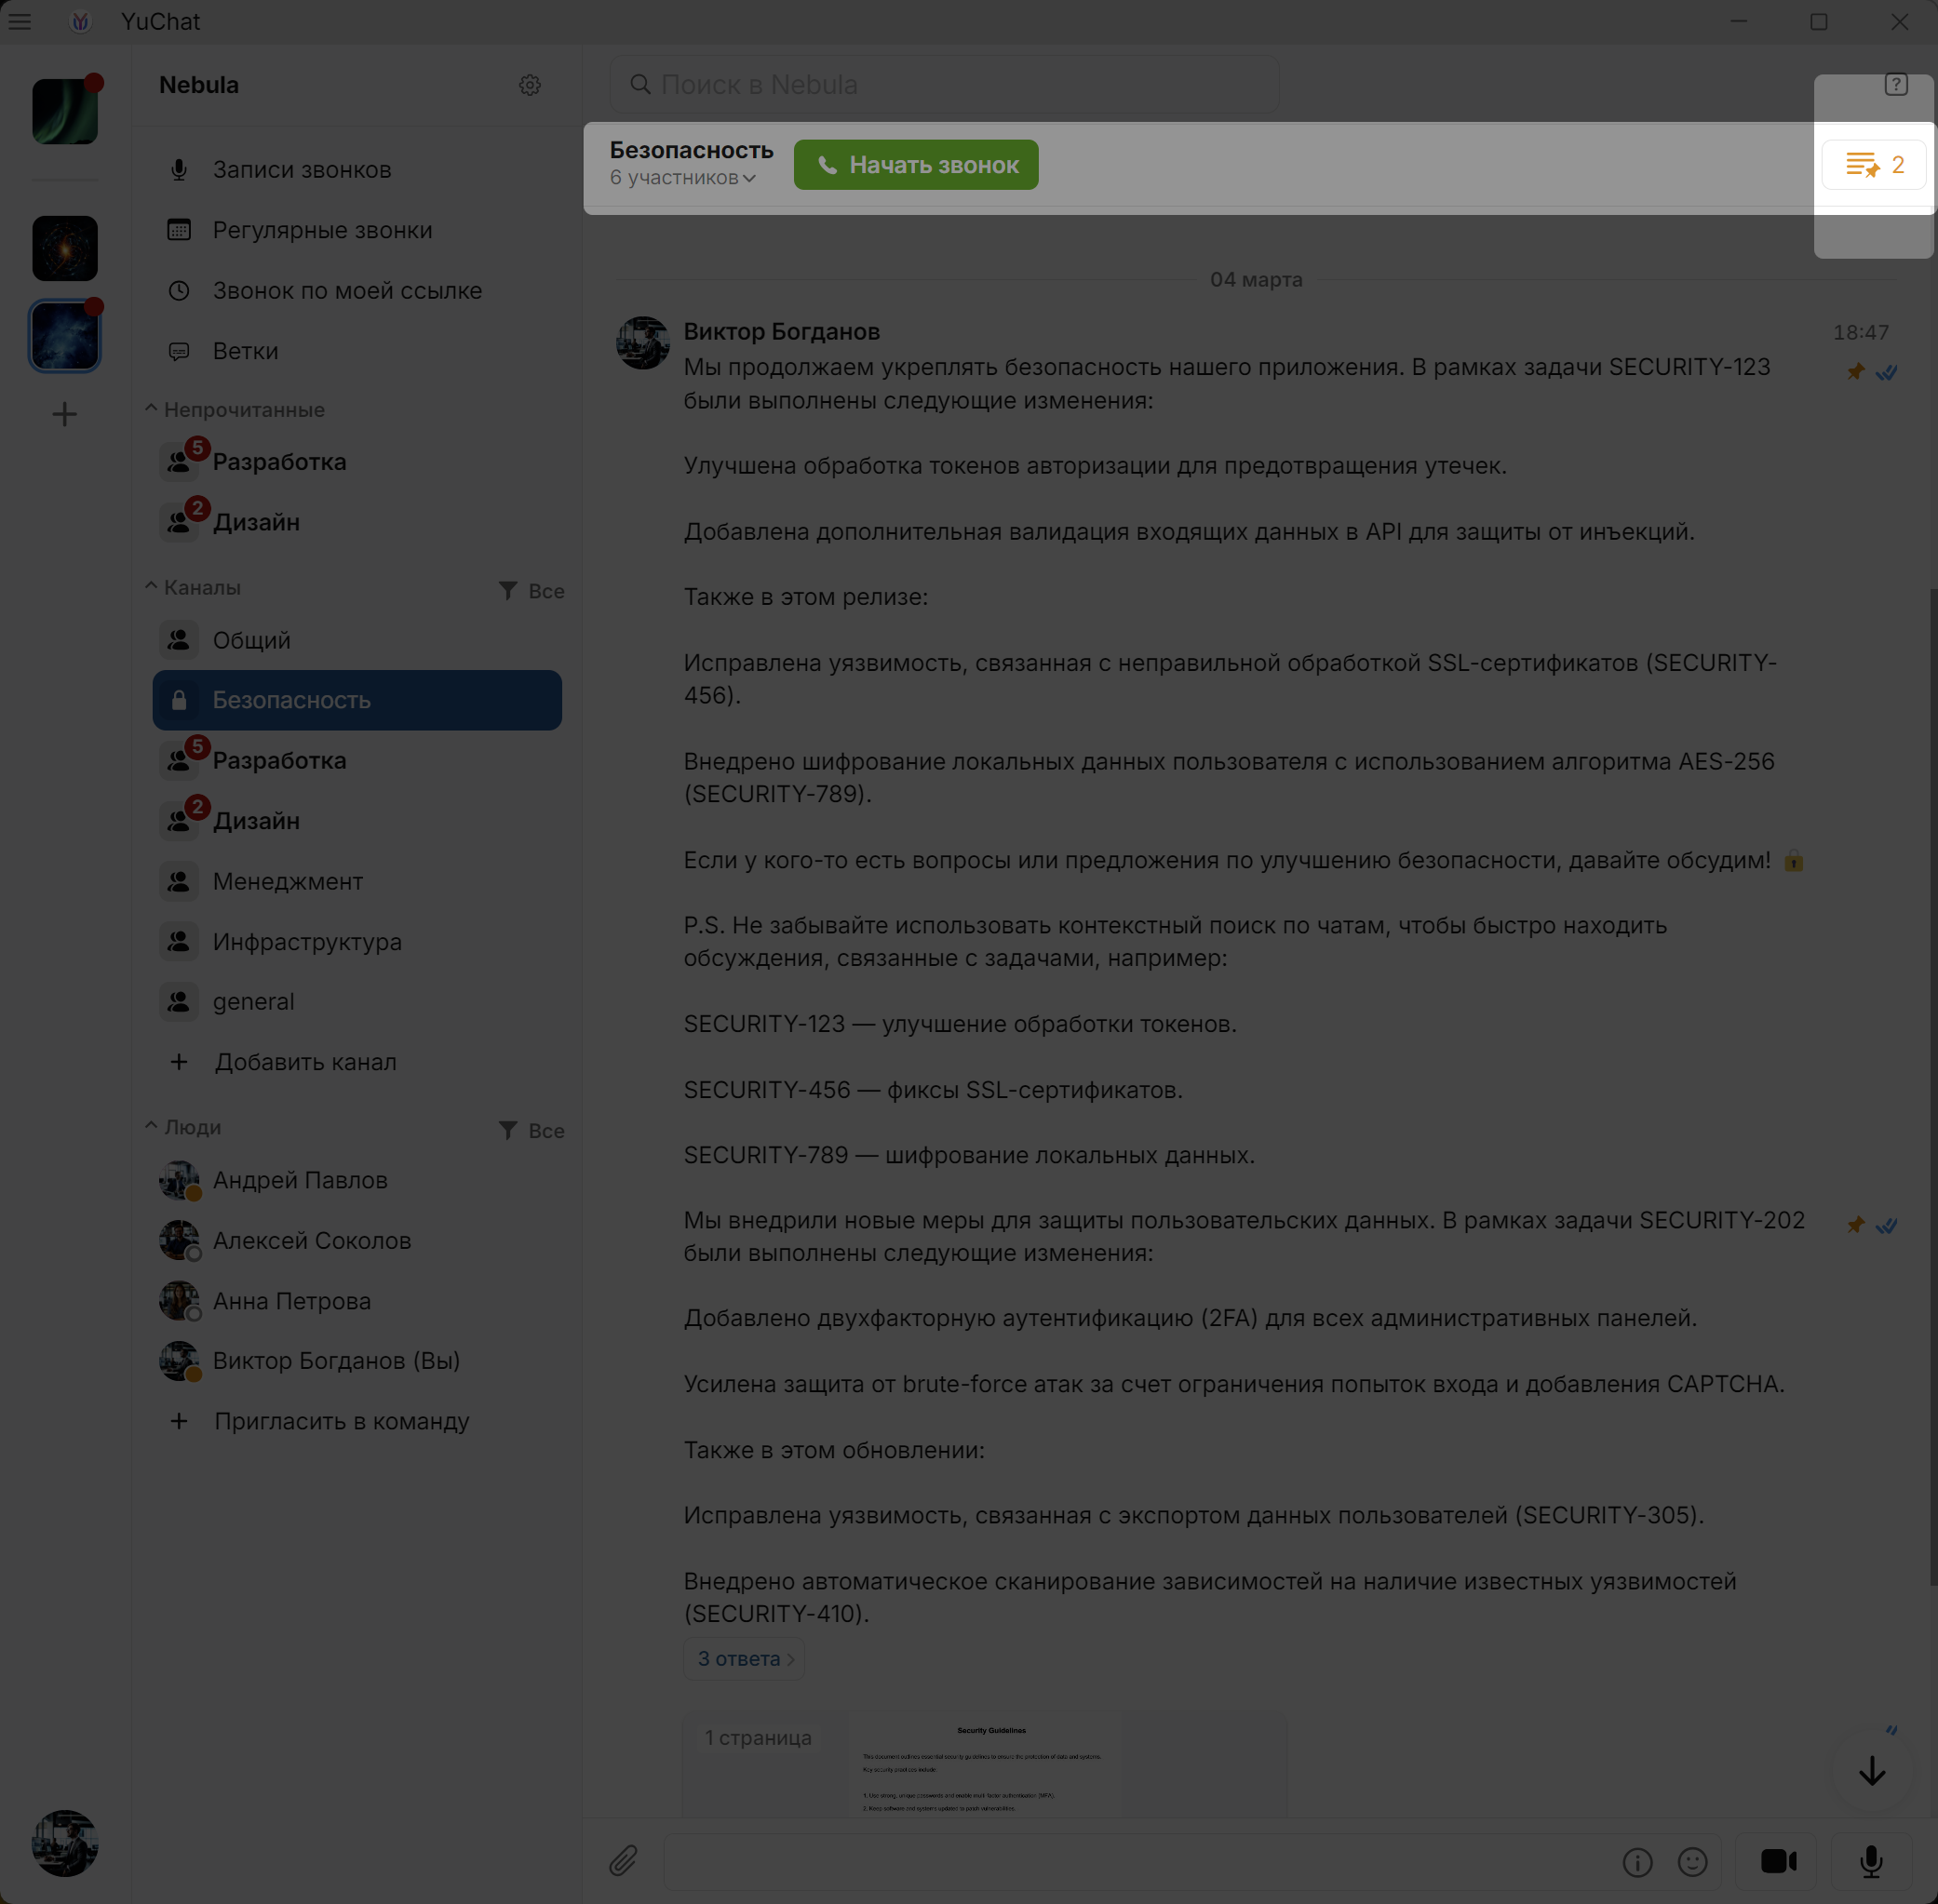
Pinning Messages
Pin important messages to keep them visible.
Per the role model:
- Owners/Administrators — Pin/unpin in channels and chats
- Members — Pin/unpin in personal chats only
- Right-click a message
- Select
 Pin or
  Unpin
Unpin
Pinned messages show ![]() . Access the pinned list via
. Access the pinned list via
the channel/chat panel
Deleting Multiple Messages
- Right-click a message → Select
- Check messages to delete
- Click Delete
- Cancel with Cancel or Esc
Threads
Threads are discussions attached to a specific message.
Create threads from:
- Personal messages
- Channel messages
- Call recordings
All your threads appear in Threads. By default, you see threads where you:
- Participated or were mentioned
- Had a thread created from your message
- Were in the call
Other channel threads show a
new message marker
Thread visibility depends on channel notification settings.
Starting a Thread
- Right-click a message or call recording
- Click
 Start Discussion
or
double-click the message
Start Discussion
or
double-click the message - Send your first message
Forward Messages from a Thread
In an expanded thread, you can forward either a single message or multiple messages at once.
To forward one message from a thread:
- Open the thread from a channel, chat, or the Threads section
- Right-click the required message inside the thread
- Select Forward
- Choose the destination chat or channel
- Optionally add a comment to the forwarded message
To forward multiple messages from a thread:
- Open the thread
- Right-click one of the messages inside the thread
- Select Select
- Check one or more messages in the thread
- Click Forward
To cancel message selection, click Cancel or press Esc.
Expand Thread
You can expand a thread to full screen. To do this, open the thread from the Threads section or from a channel/chat. In the thread panel, click ![]() Expand Thread in the top-right control panel. The thread will open in full screen. Close the expanded thread by clicking the X button or pressing Esc.
Expand Thread in the top-right control panel. The thread will open in full screen. Close the expanded thread by clicking the X button or pressing Esc.
Thread Summary
Generate an AI summary of the discussion:
- Open a thread
-
Click Magic
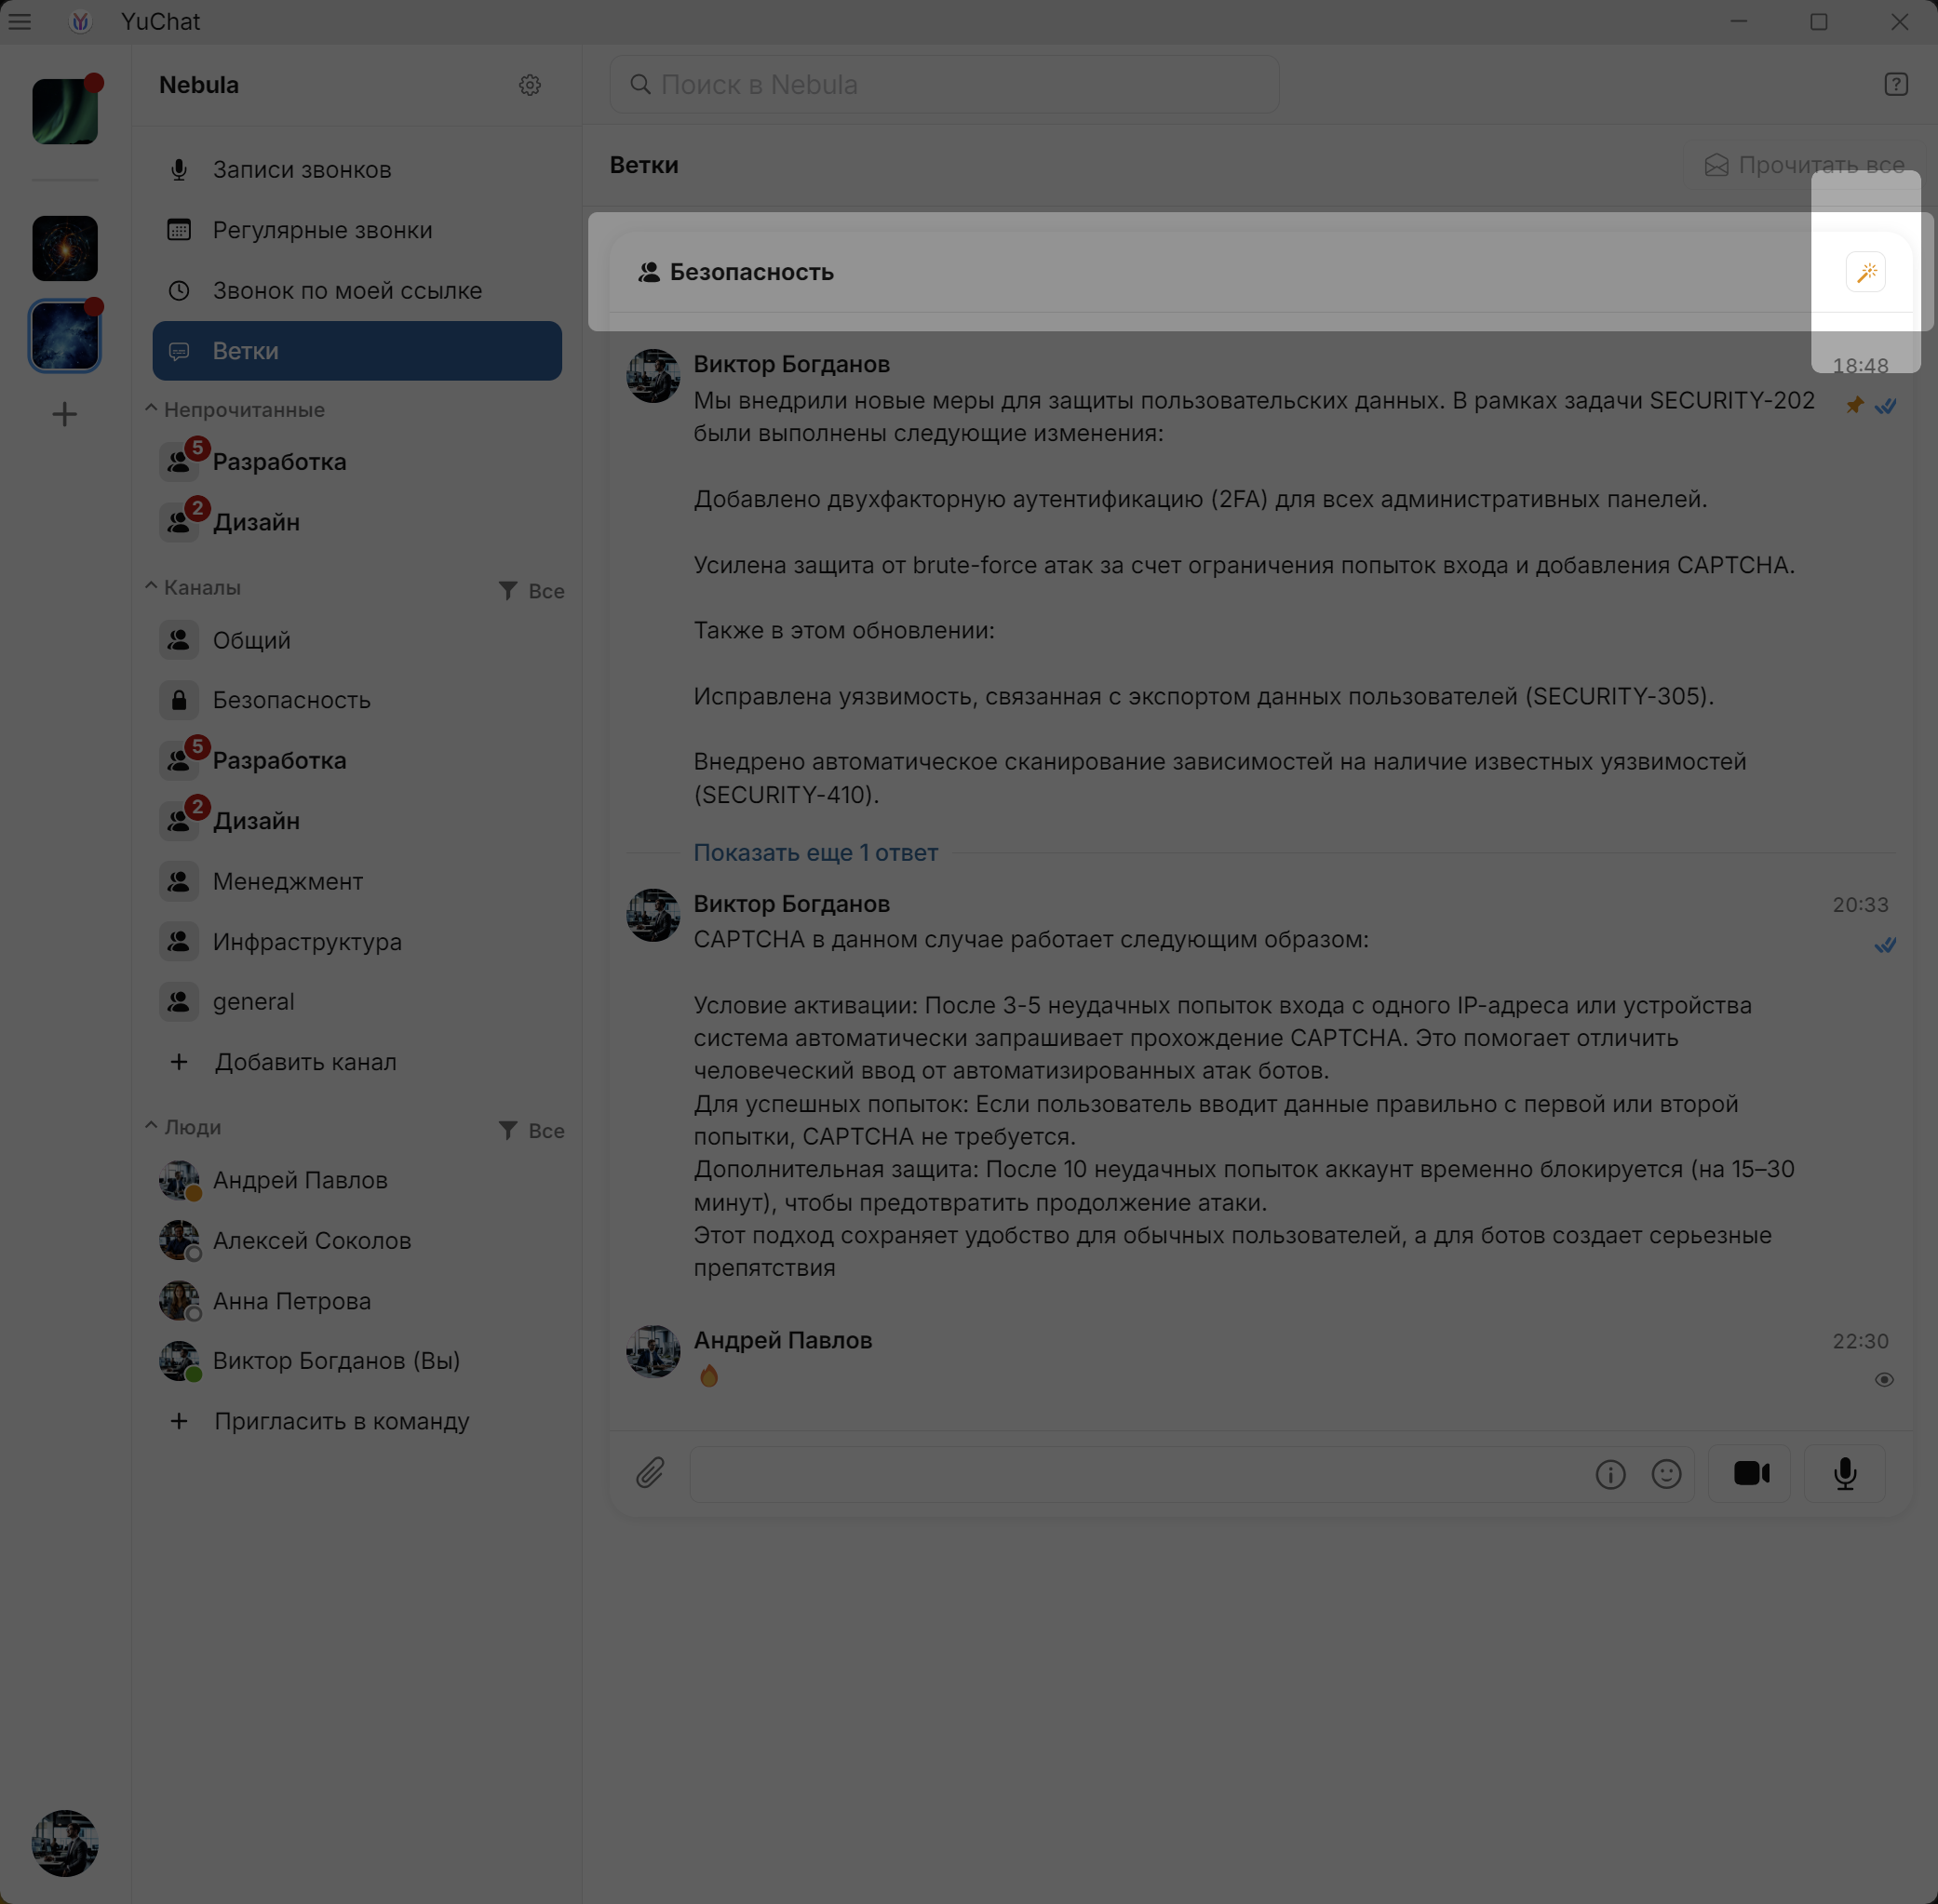
- Click
 to generate
Anyone with thread access can regenerate the summary when new messages appear.
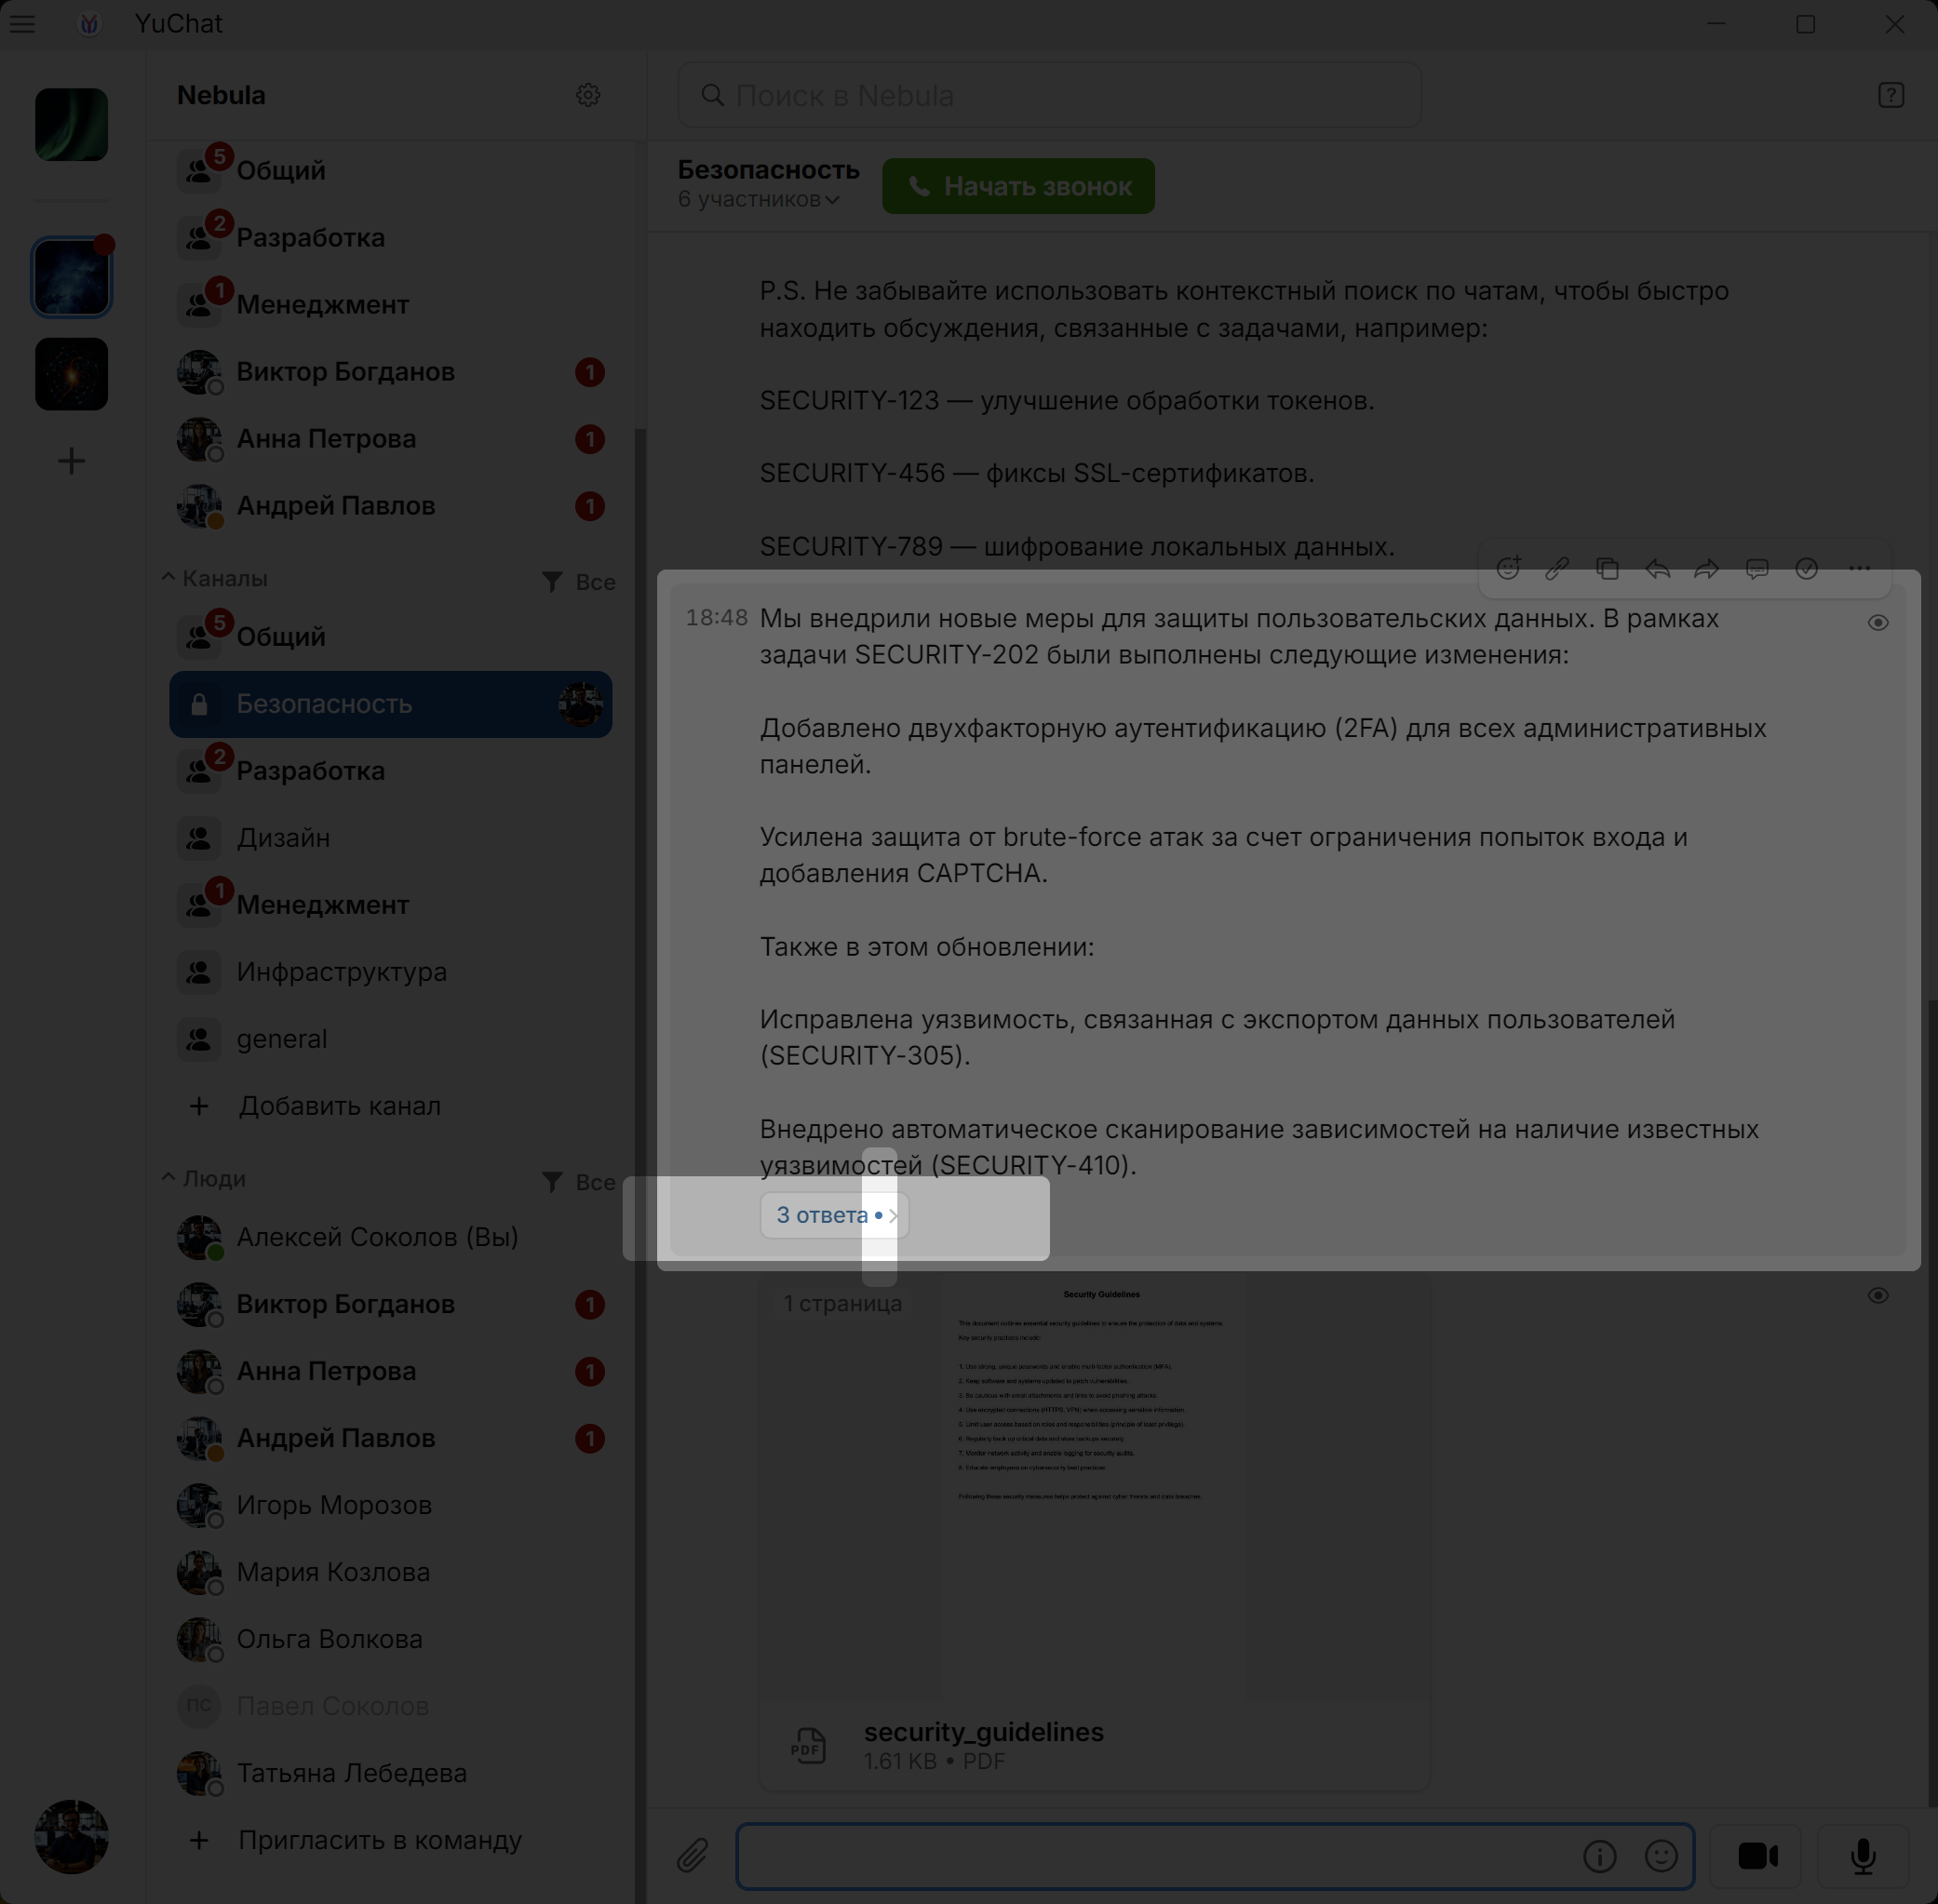
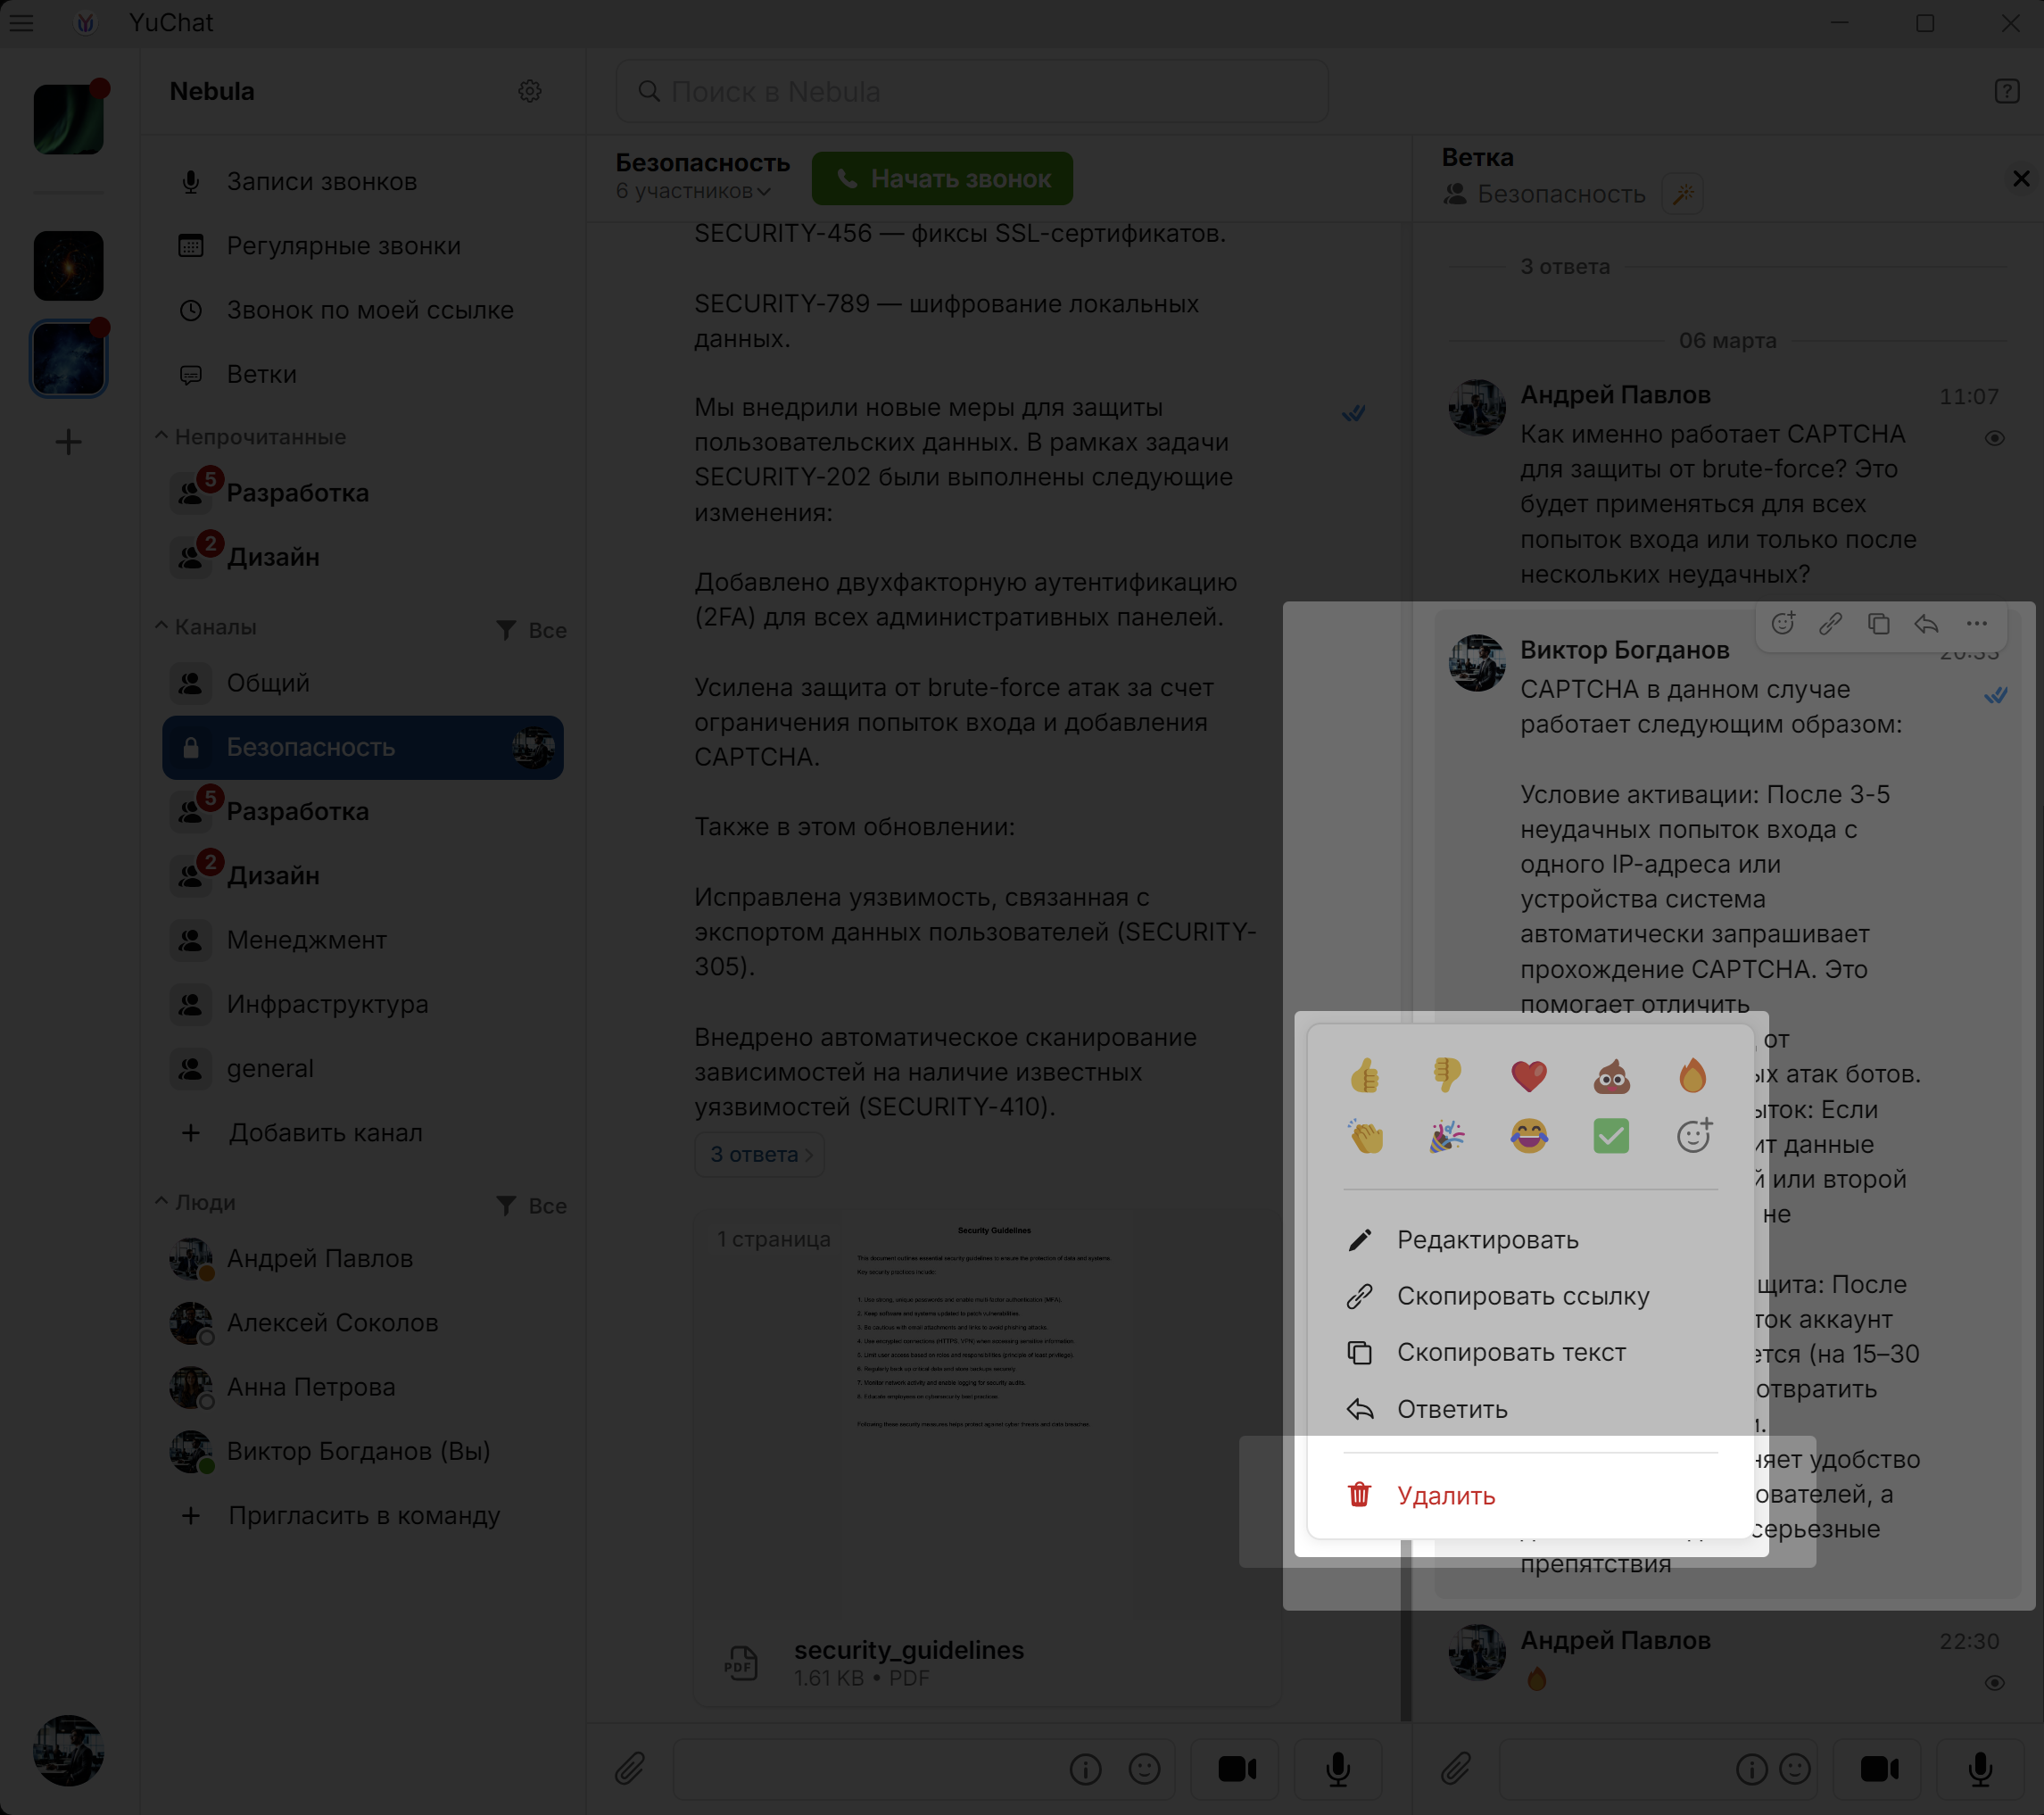
Deleting Thread Messages
Messages can only be deleted from an expanded thread.
Expand a thread by:
- Clicking the reply count under the parent message
- In Threads, clicking the thread header or Show More
Then: Right-click the message →
Select Delete
Thread Subscriptions
Subscribe:
- Expand the thread
- Click
 → Subscribe to Thread
Unsubscribe:
- In Threads, click → Unsubscribe from Thread
If someone @mentions you in a thread you've unsubscribed from, you're automatically resubscribed.
Video Messages
Send
- Open a chat or channel
- Click

- Click
Download
Select the video message and click ![]()
Forward
Select the video message, click ![]() , choose destination, click Send
, choose destination, click Send
View Transcript
Select the video message and click ![]()
Voice Messages
Record and Send
- Open a chat or channel
- Click

- Click
Download
Select the voice message and click ![]()
Forward
Select the voice message, click ![]() , choose destination, click Send
, choose destination, click Send
View Transcript
Select the voice message and click ![]()
Notifications
In-app notifications appear in the interface and app icon for all enabled events.
Push notifications (phone/desktop notification center) are available for:
- Personal messages
- Channel mentions
- Replies to your messages